


On-field Maintenance & Placement
Let's go on-field...
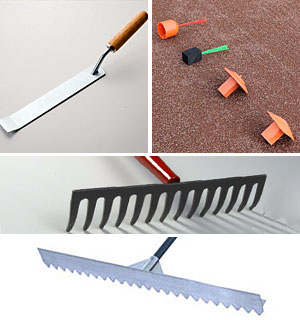
Now that you’ve learned about base care and safety in the previous lesson, let’s hit the field with maintenance and base placement. Here’s what you’ll need for maintaining the area around the bases and correctly placing them:
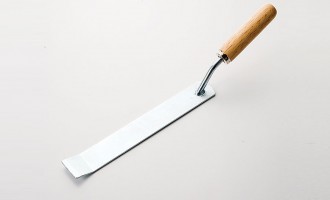
- anchor digout tool
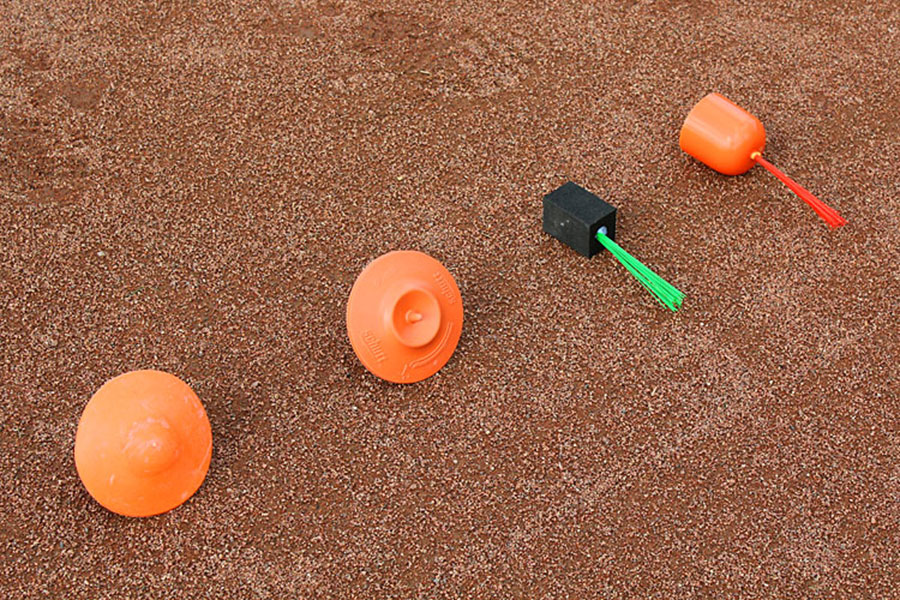
- anchor plugs
- iron rake
- grooming rake or level board
The scoop on base anchor plugs...
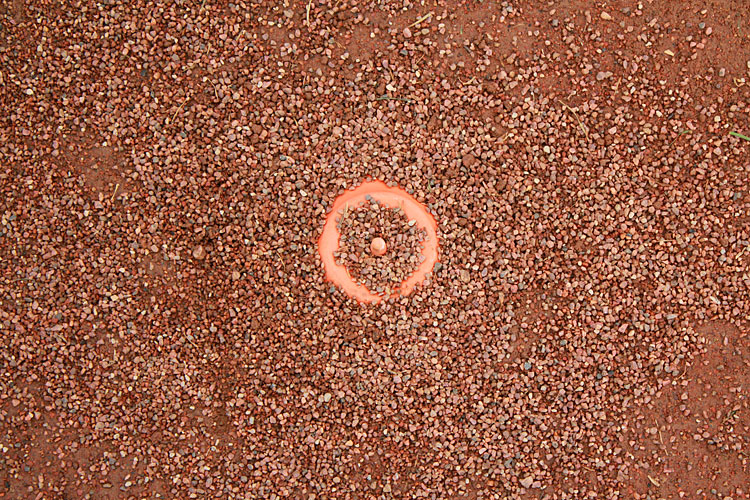
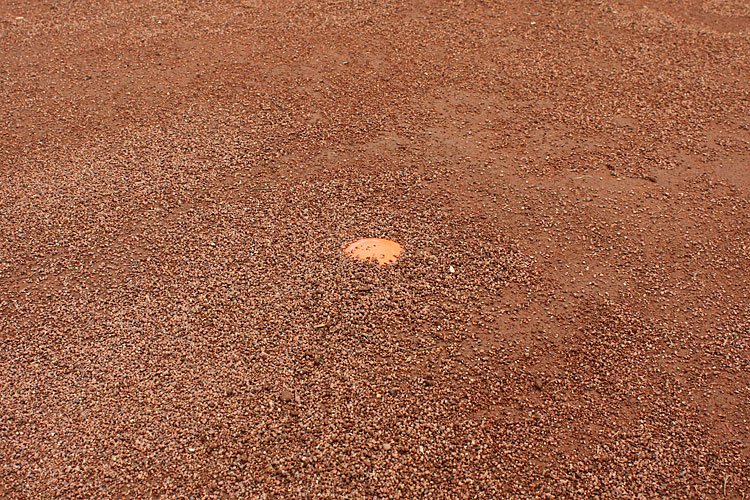
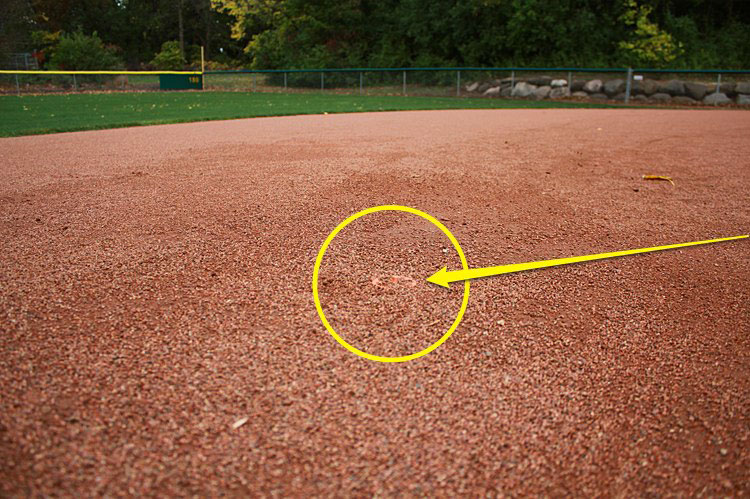
Click the photos for examples of various anchor plugs and proper installation. Why do you need anchor plugs? There are two important reasons. You need to make sure your base anchor is not buried or filled with soil when you drag your infield, and you also want to make sure you can easily locate the anchor after dragging.
When installed correctly, the anchor plug should sit just below grade so just a small portion of the plug is visible. If the plug sits too high, a field drag will catch it. Base plugs must be installed before you drag the infield. If the plug is not able to sit below grade, use a digout tool to remove soil until the plug can be properly installed just below grade.
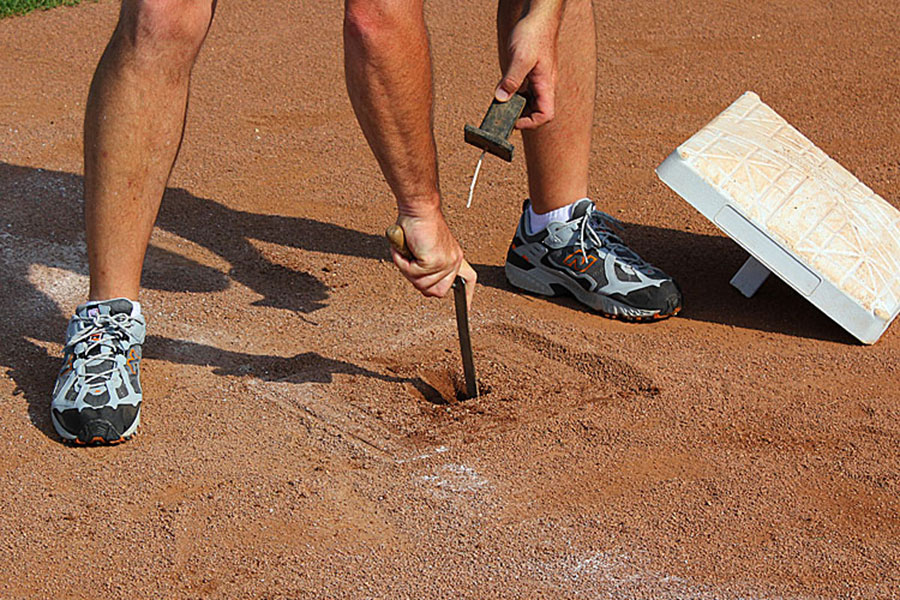
Once the dragging process is finished, the plug in the anchor is removed. The digout tool is used to remove any loose soil that has fallen into the anchor and then the base is installed into the anchor.
Watch the demonstration video on the next slide…
Anchor plug installation...
Maintenance around the bases...
With infielders and base runners, a lot goes on around the bases. So, they’ll need a little extra work. Most of this work is done before you drag the infield for the day’s games.
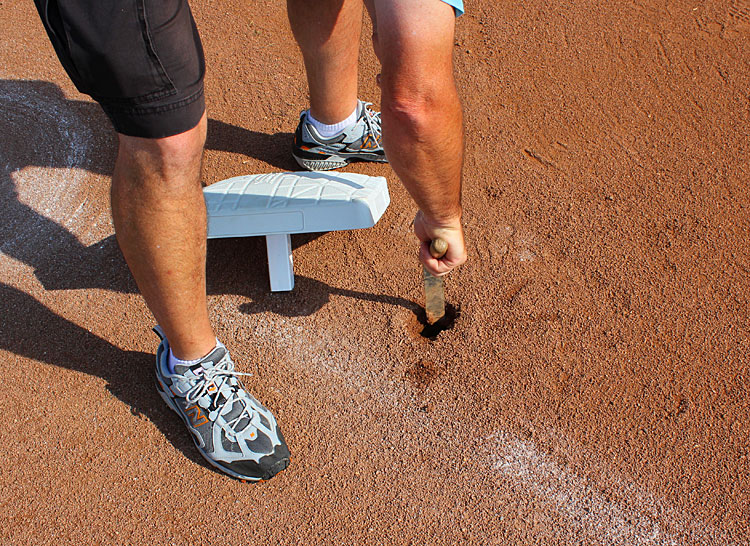
The first task is to cut down soil that has built up under and around the base from games the day before. Soil is often forced up under the bag — especially at 2nd and 3rd with base runners sliding.
If soil is left to build up around and under the base on a regular basis, it could leave the base permanently misshapen and hazardous to base runners. A sharpened iron rake will make quick work of cutting these areas down with a minimum amount of elbow grease needed.
Watch the demonstration video on the next slide…
Cutting down soil around the bases...
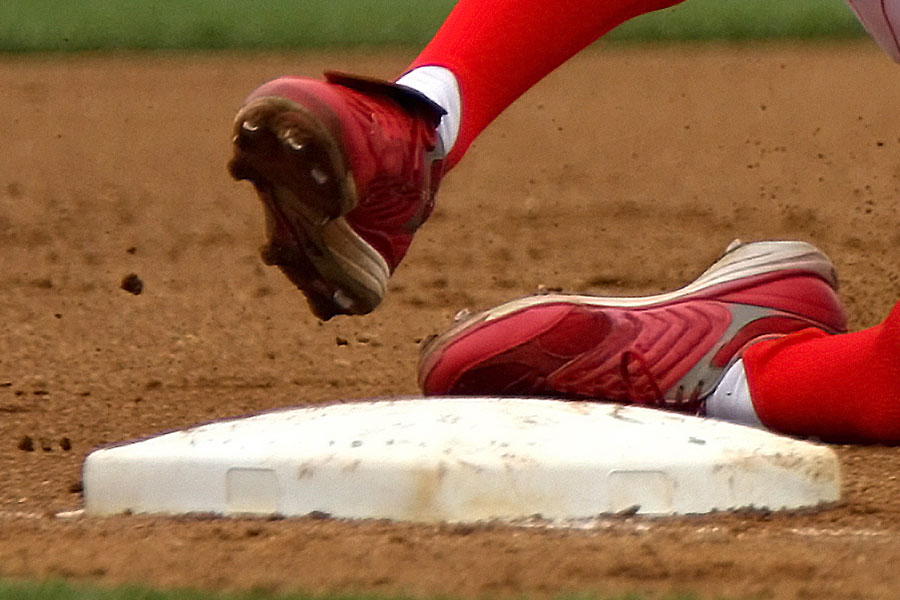
Leadoff and sliding areas...
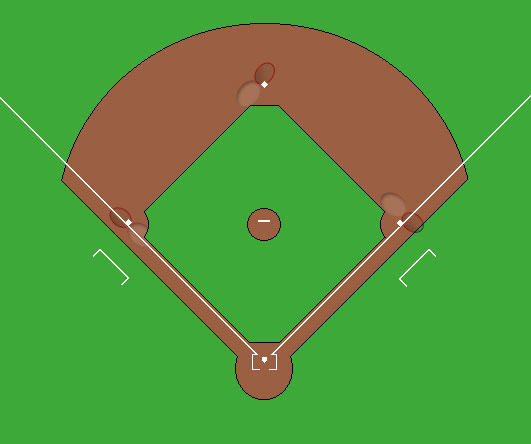
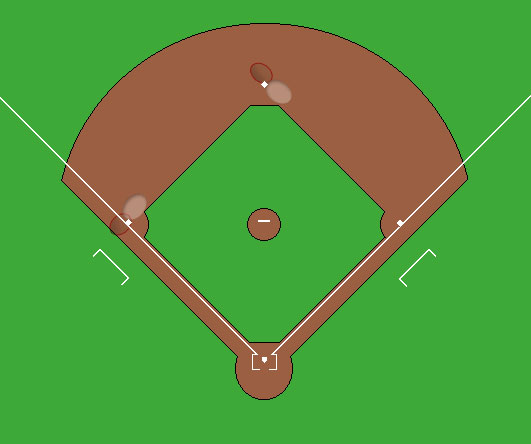
Base runners will naturally displace soil around the bases. This soil needs to be pulled back into place. A level board or a grooming rake will work well for putting the displaced soil from sliding or leading off back where it belongs. Most of the displaced infield soil will be pushed past the base so rake or level board that excess back into the low areas around each base. When finished, it should be level around each base before the infield is dragged.
Click on the graphics for sliding and leadoff soil displacement.
Getting ready for play...
Installing a base can be pretty straightforward. Simply locate the anchor plug, remove it, and then use a digout tool to remove any soil that has fallen into the anchor (or, if you are using 1″ male anchors, remove soil around the outside of the anchor).
Once the anchor is clear of soil, slip the stanchion of the base into or over the anchor until the base makes contact with the infield skin. When properly installed, the base should have some “rotational play”. This means the base will rotate back and forth slightly when in place. This rotational play is designed to prevent the stanchion from wedging in the anchor — which can happen when soil is not properly removed from the anchor — making it difficult to remove the base later.
Watch the video demonstration on the next slide…
The importance of base rotational play...
Is the base properly seated?...
Once you have cleared soil from the anchor and placed the base in the anchor, make sure there is enough of the stanchion engaging with the anchor. Standing over the base, grab opposing corners of the base and rotate back and forth. If the stanchion is deep enough it will rotate slightly but stay firmly in place. If the base easily pops off the anchor, then you probably have too much infield skin built up under the base and you’ll need to cut down some soil.
Place the anchor plug back in the anchor and using a sharpened iron rake, cut down the soil and then recheck the base.
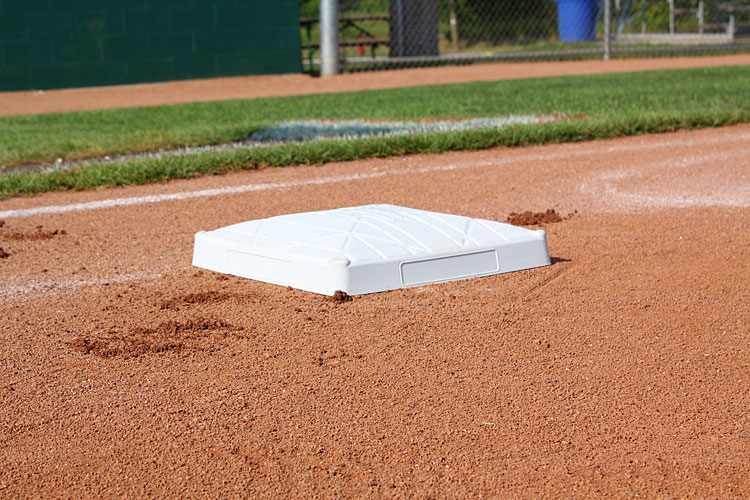
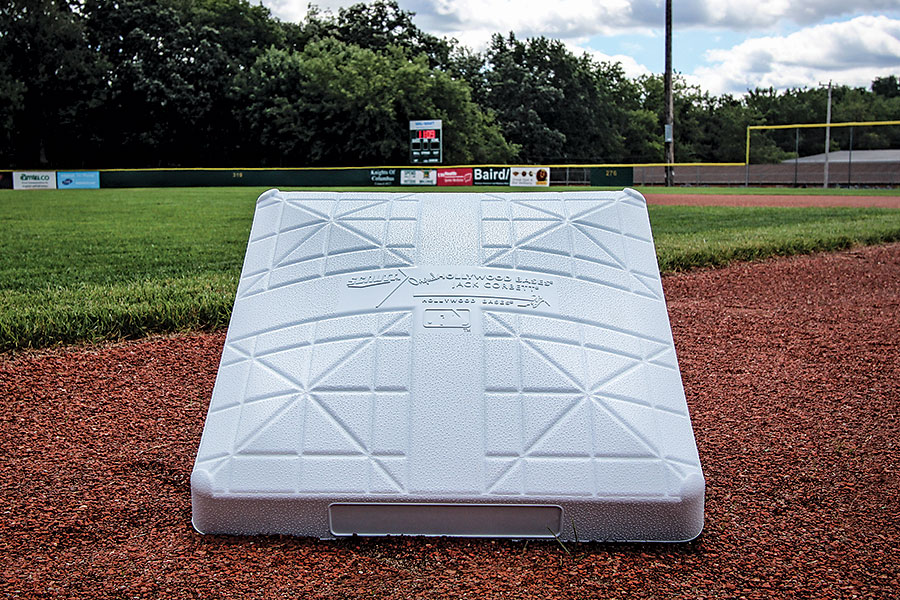
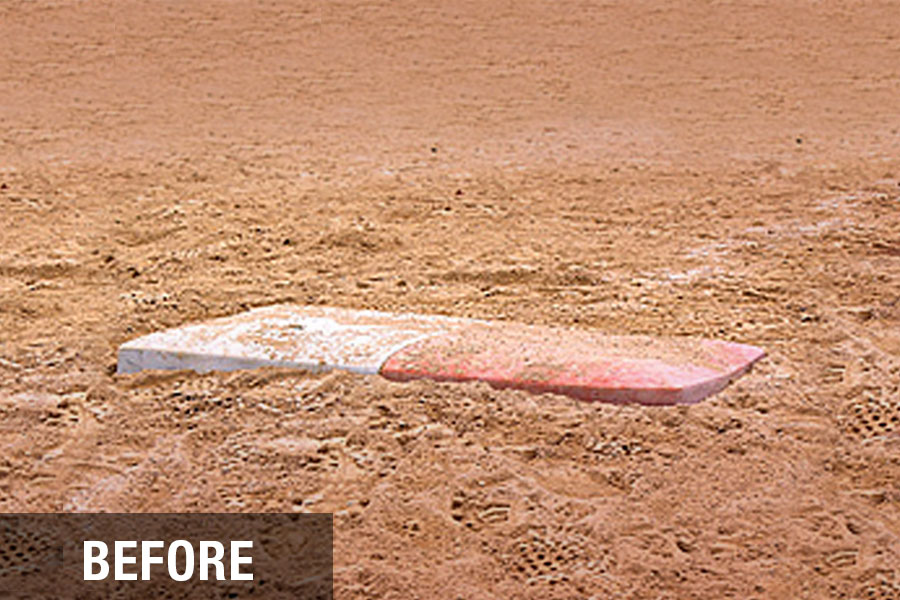
The base is properly installed when all four sides are making full contact with the ground (see image). Any spots where the base is not making contact is a possible injury risk to base runners. If you have areas like this you’ll need to regrade the area around the base with your iron rake to make sure you do not have high or low spots.
Continue checking the base and reworking the soil until it is properly seated on the infield skin.
Watch the demonstration video on the next slide…
Base installation...
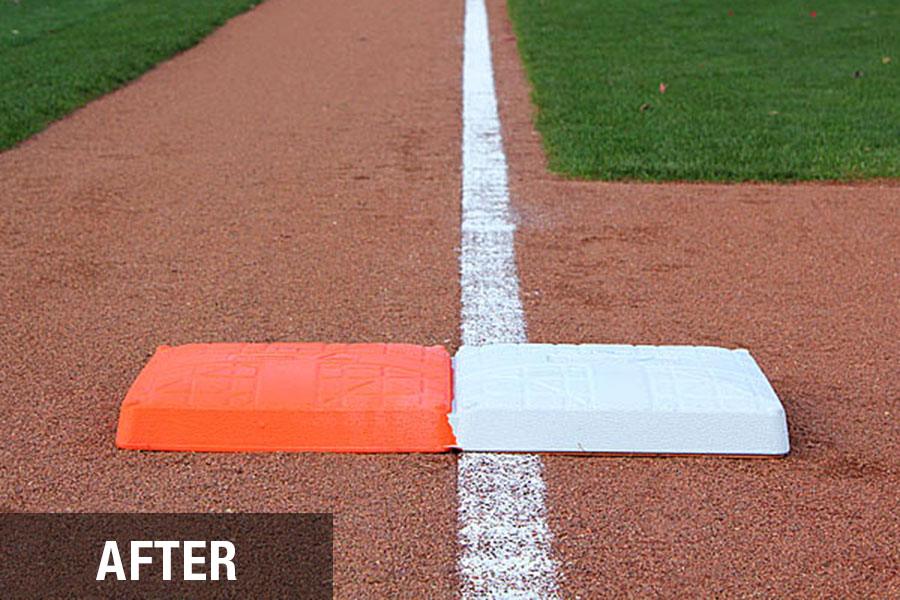
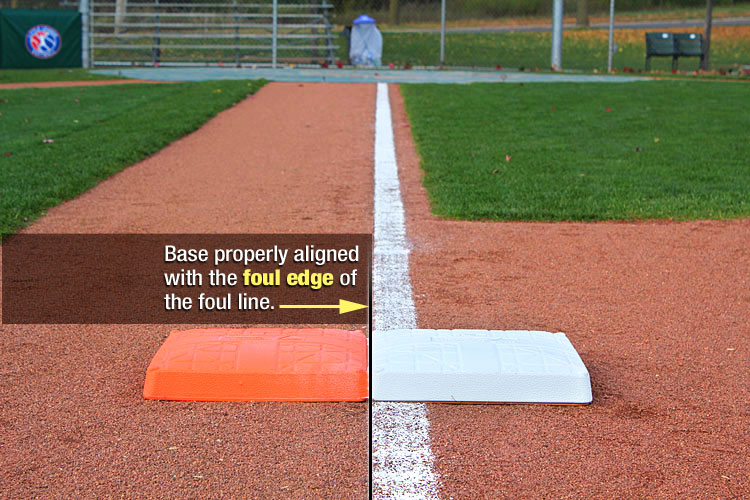
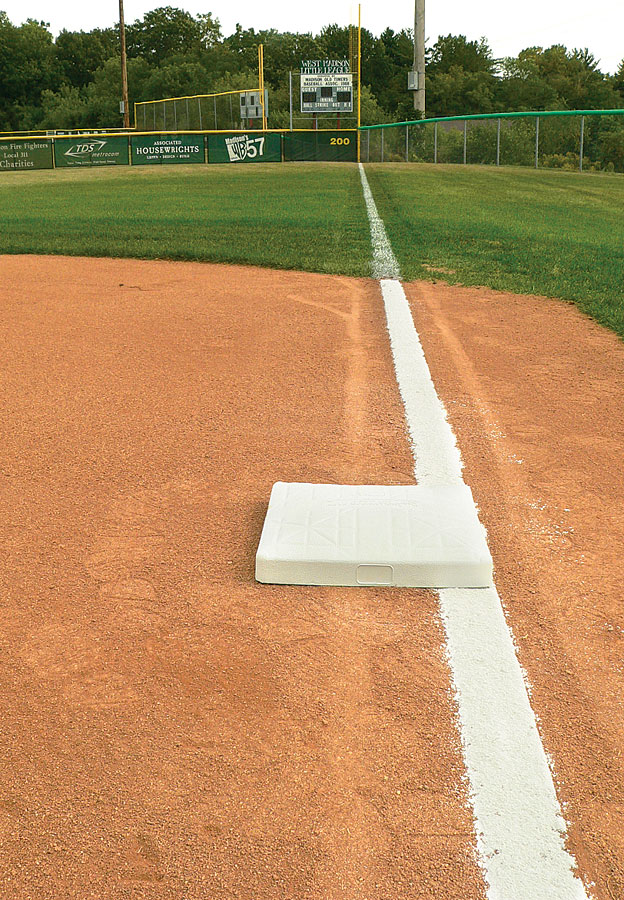
Proper alignment with the foul lines...
When 1st and 3rd base are seated in their base anchor, they need to be entirely in fair territory. Assuming the foul lines have been properly chalked, then the bases should be sitting with the outer edge of the base perfectly lined up with the foul edge of the foul lines.
The entire base should be in fair territory. If you’re using a double first base, then the orange base is in foul territory with the white base entirely in fair territory.
Click these images for examples of proper alignment with the foul lines.
Time to review?
You’ve made it through of all of the material covered in this lesson about bases, their placement and maintenance.
Before moving on, it might be a good time to review any of the topics from this lesson that you are unsure about. Just use the section navigation below to skip around for a refresher.
When you’re ready, try a Pop Quiz to make sure you have a good understanding. If you do not see the quiz button below, please log in at GU to take the quiz.


