


Repairing Clay-Fortified Areas
Repairing high wear areas fortified with clay...
The common wear areas on the mound and where batter’s and catcher’s cleats dig in will need extra attention. Here’s what you’ll need to repair these areas fortified with clay:
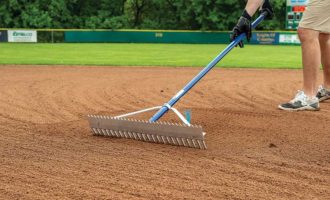
- grooming rake
- sharpened iron rake
- medium bristled push broom
- corn broom
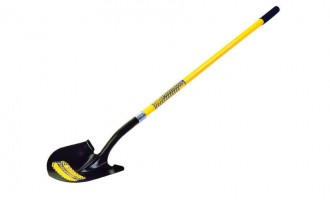
- square end shovel
- tamp
- small hand-pump sprayer or watering can
- sifter shovel
- pre-moistened mound clay
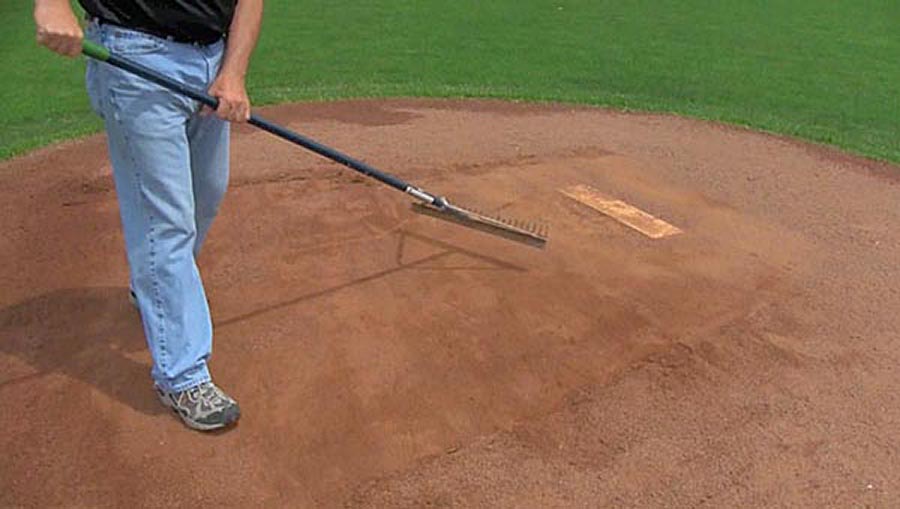
Pushing back material...
Inspecting the area for high spots...
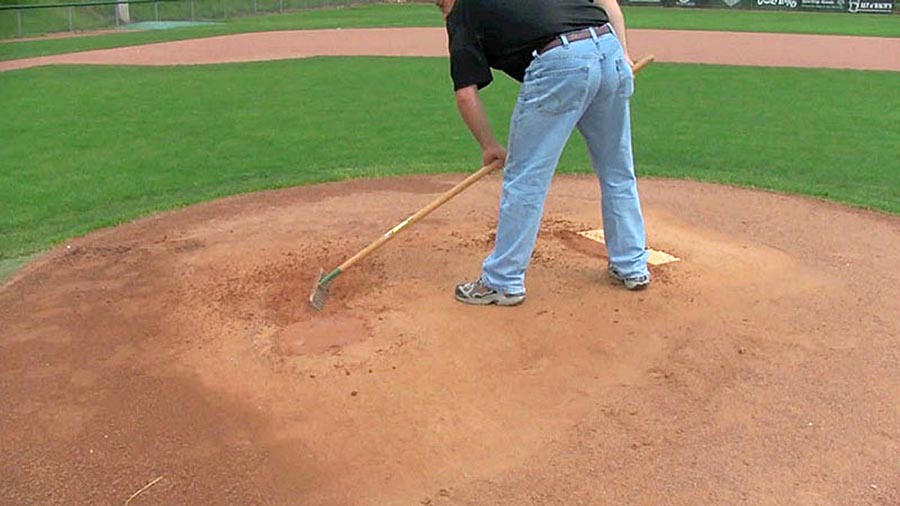
Now that the top material has been pushed away, inspect the area for spots where clay has been pushed up causing a ridge. Sometimes when clay is moist as play begins, it can slowly be pushed creating high areas that rise above the finish grade.
This can most easily happen in the landing hole on the mound, as well as in the back foot holes in the batter’s box. If you detect high spots, use a sharpened iron rake to cut down the ridge, restoring the area to finish grade.
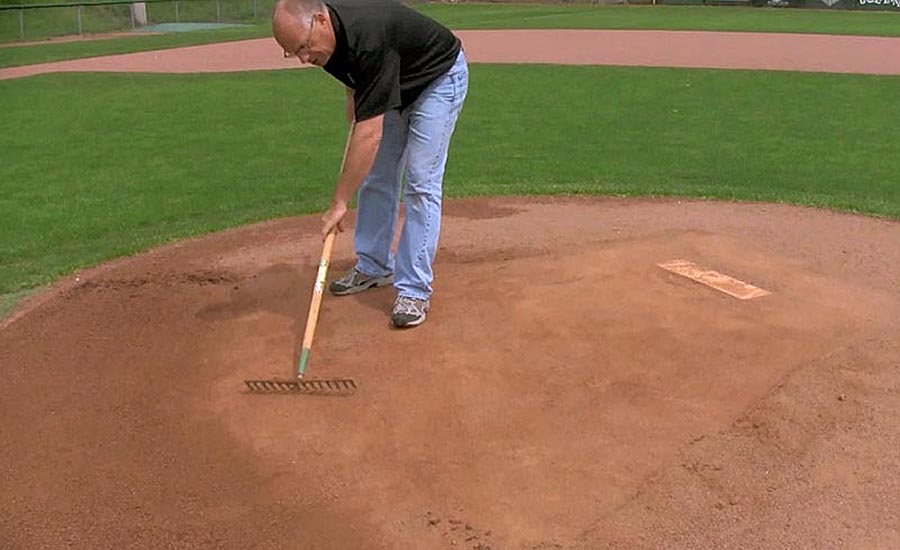
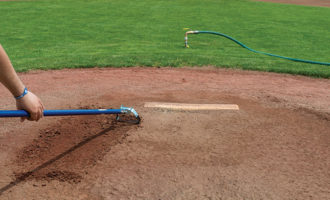
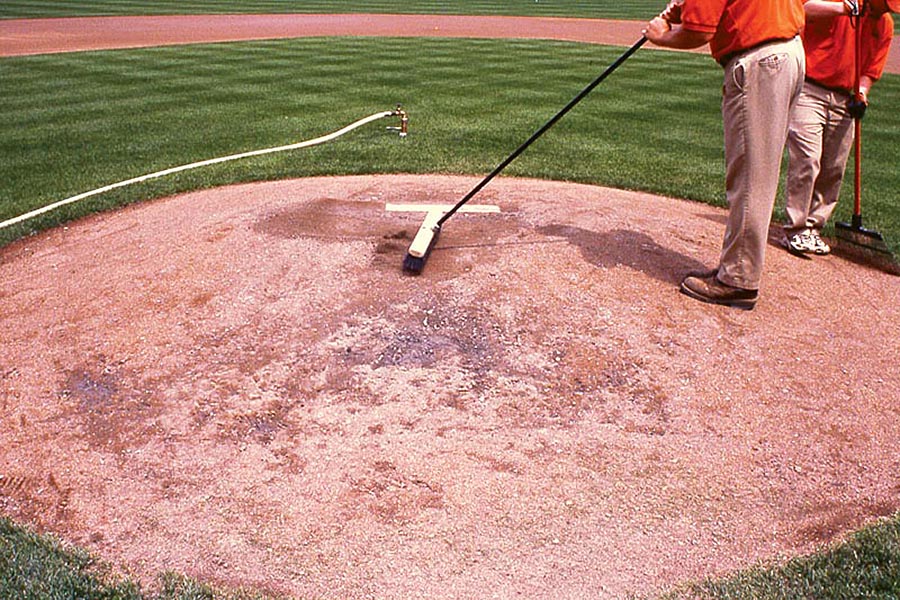
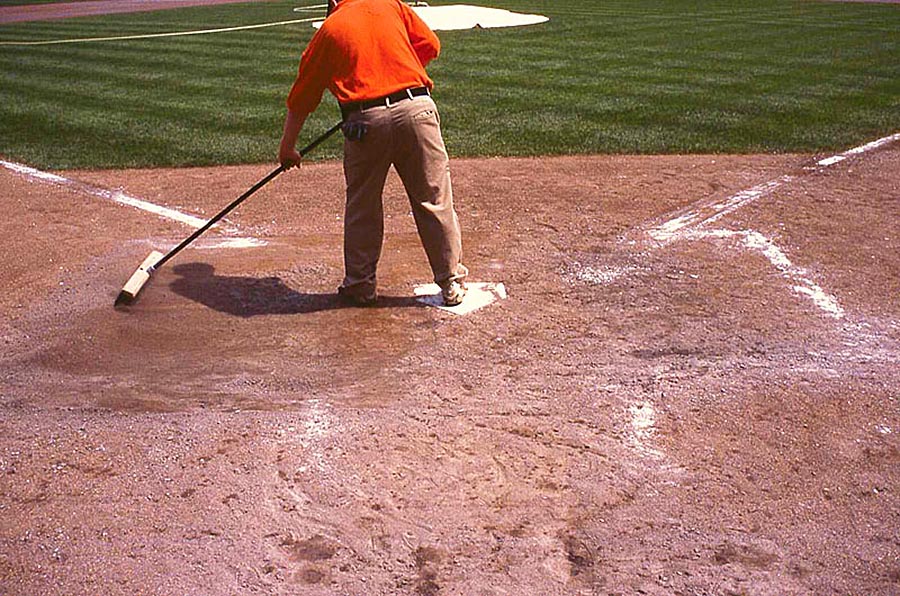
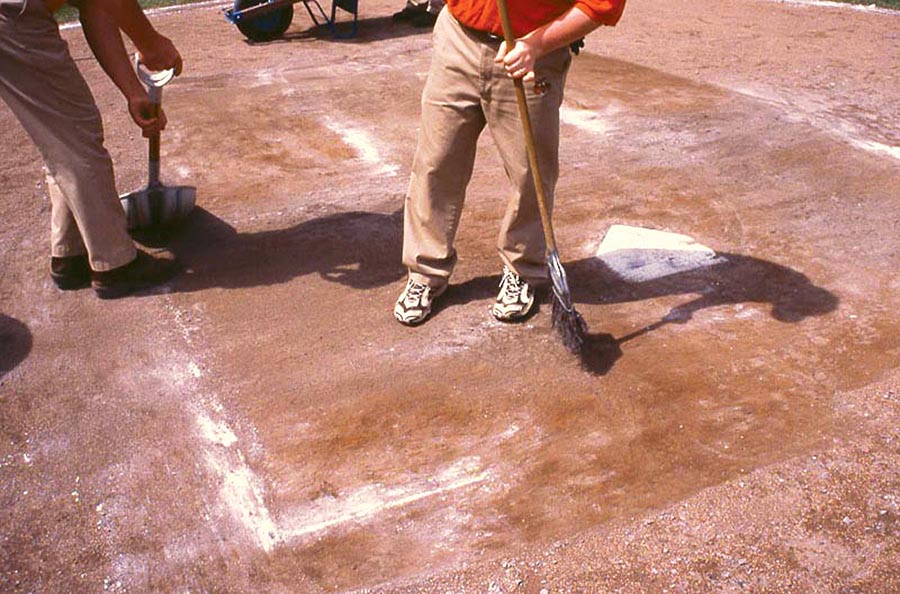
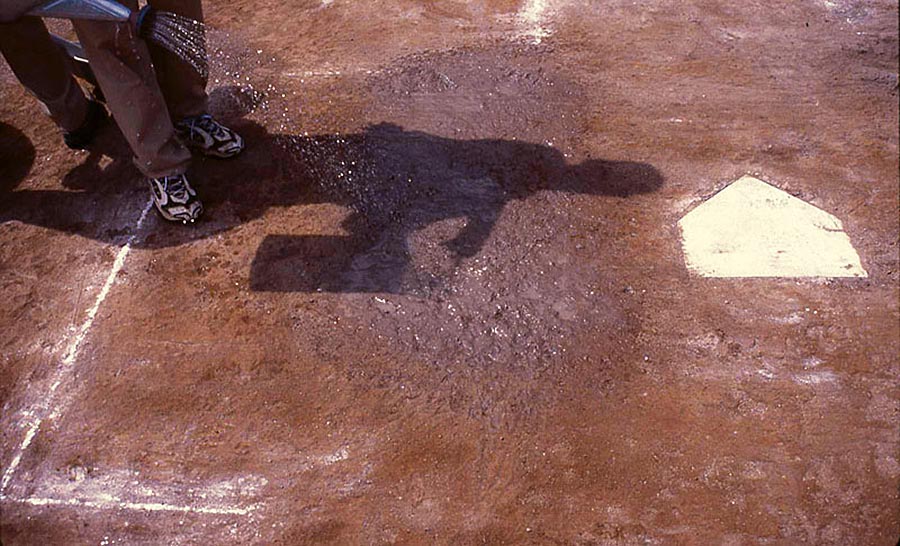
Remove all loose material from holes...
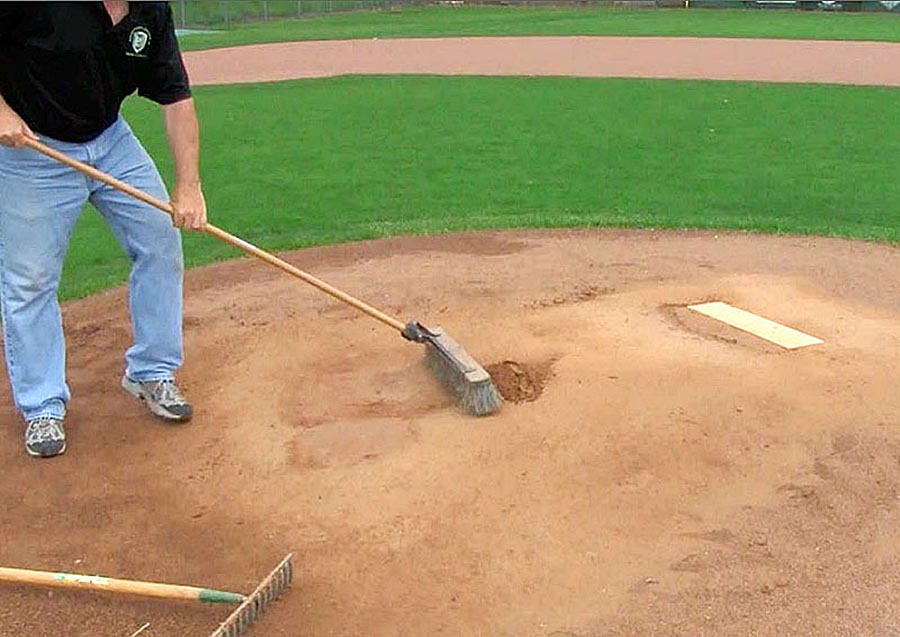
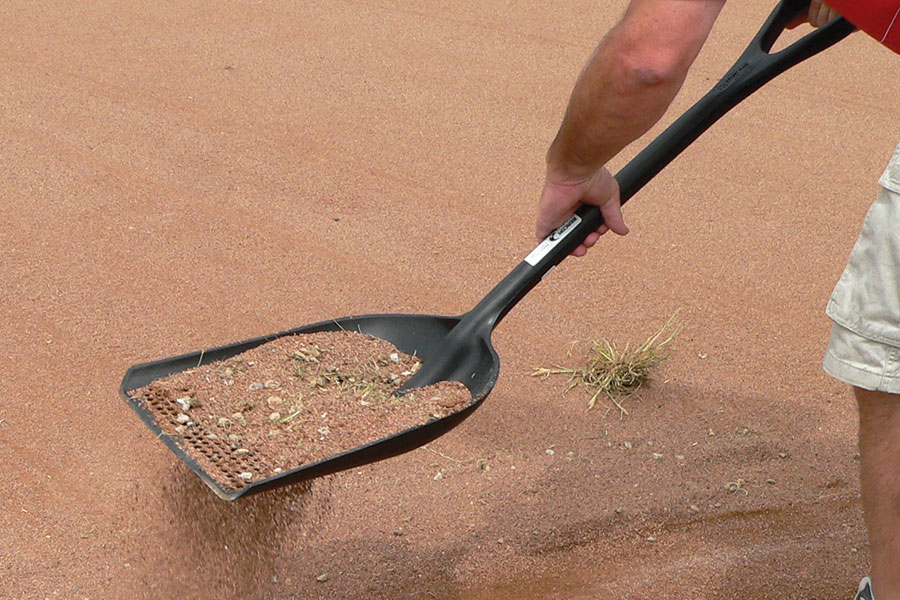
Using a strong push broom sweep away all loose material from the low areas. It may be necessary to use a corn broom or another smaller broom to get the material out of deeper holes that your push broom can’t reach.
It is very important to get ALL loose material away from the area you will repair. For an effective repair, the new clay must be able to bind with solid, clean clay already in the mound and home plate areas. Loose material will make it very difficult to get good adhesion (watch the video demonstration on the next slide).
Click the images to see examples of removing loose material…
Sweeping loose contamination...
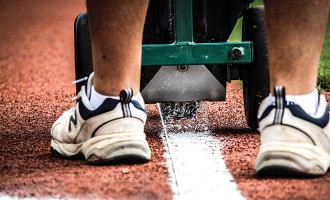
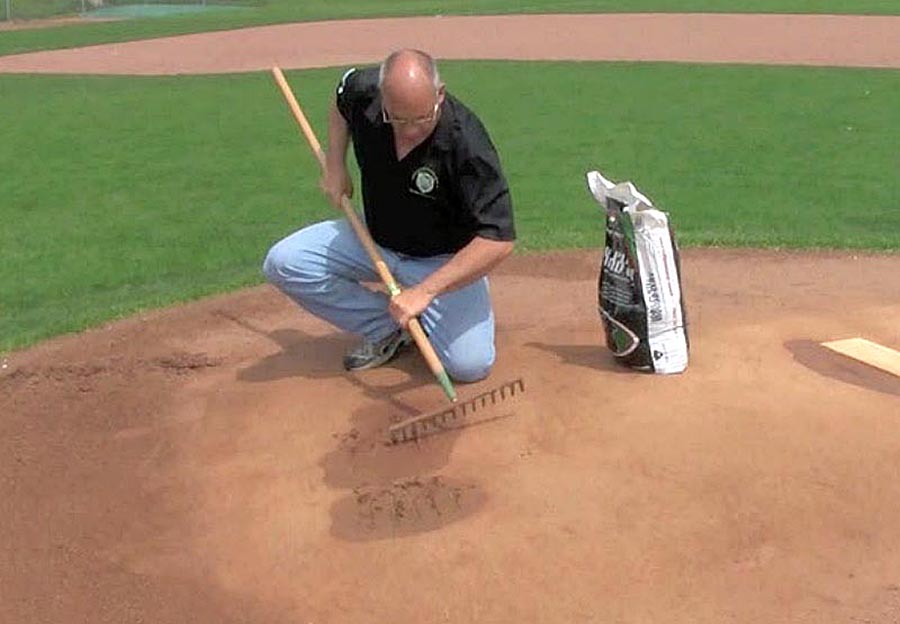
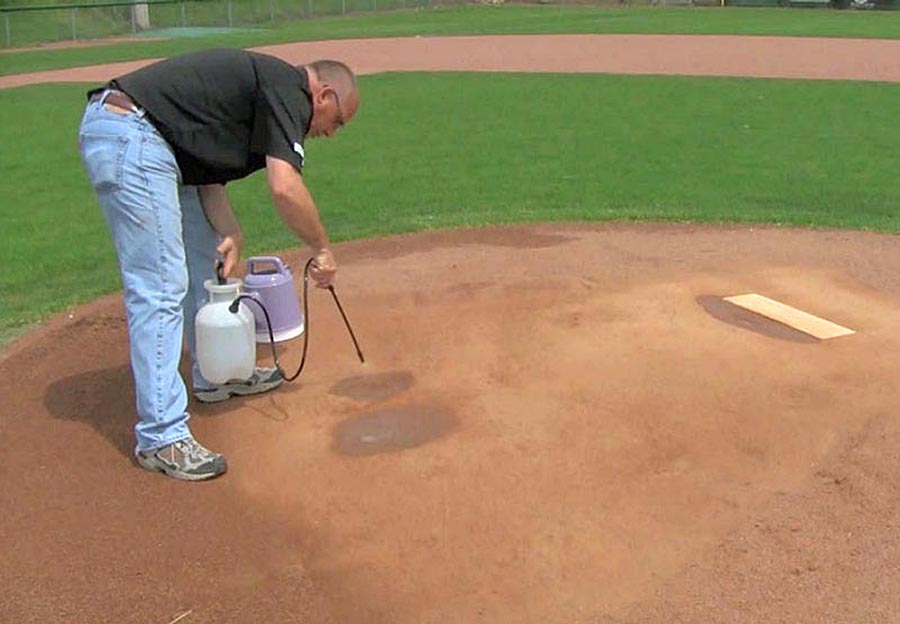
Watering & scarifying the low areas...
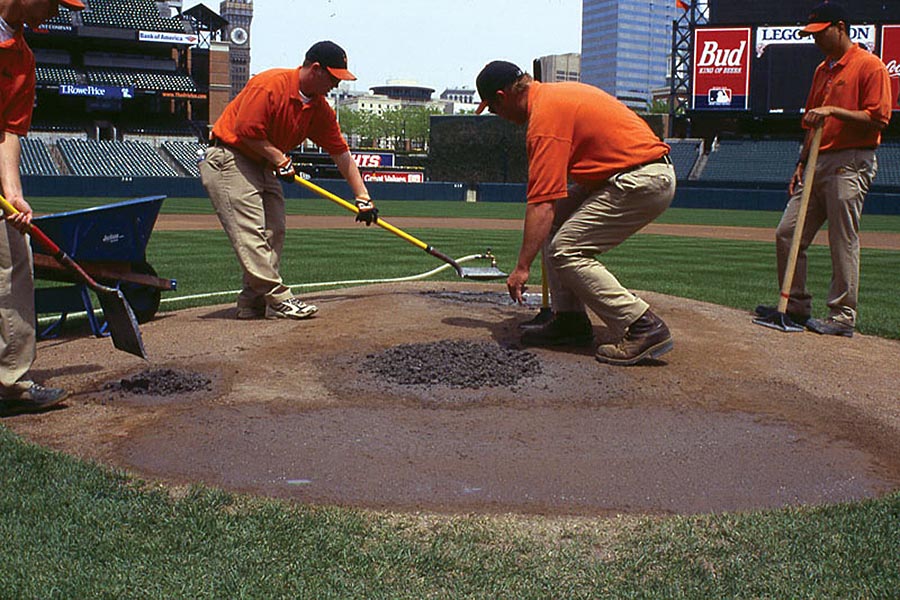
Once the holes have been swept of loose soil you’ll need to wet these areas lightly. We recommend a small hand-pump sprayer for better control over how much water you add and where. You can also use a watering can or hose if necessary.
Water will make the existing clay tacky to help it bind with the new clay. For best results you may need to lightly scarify the dampened areas with your iron rake, especially for fairly shallow holes. The new clay may not bind as well in a shallow hole and the new clay could more easily fracture and come out of the repaired hole. Deeper holes will likely have enough depth to allow the new clay to properly bind. Try to avoid getting water outside the holes you are repairing and avoid creating big puddles in the deepest wear areas.
Watch the video next for a demonstration of watering and scarifying…
Watering & scarifying repair areas...
Always use fresh clay...
To fill the wear holes, it’s important to use new pre-moistened clay. The old clay that’s been dug out with cleats is contaminated with other materials and would not bind well with the existing clay.
Pre-moistened clay will bind instantly and is much better than trying to hydrate clay after it’s been tamped into place. Most clays sold now come moist in the bag. Should you have a situation where your clay has dried up, it will need to be rehydrated.
How to rehydrate dried clay...
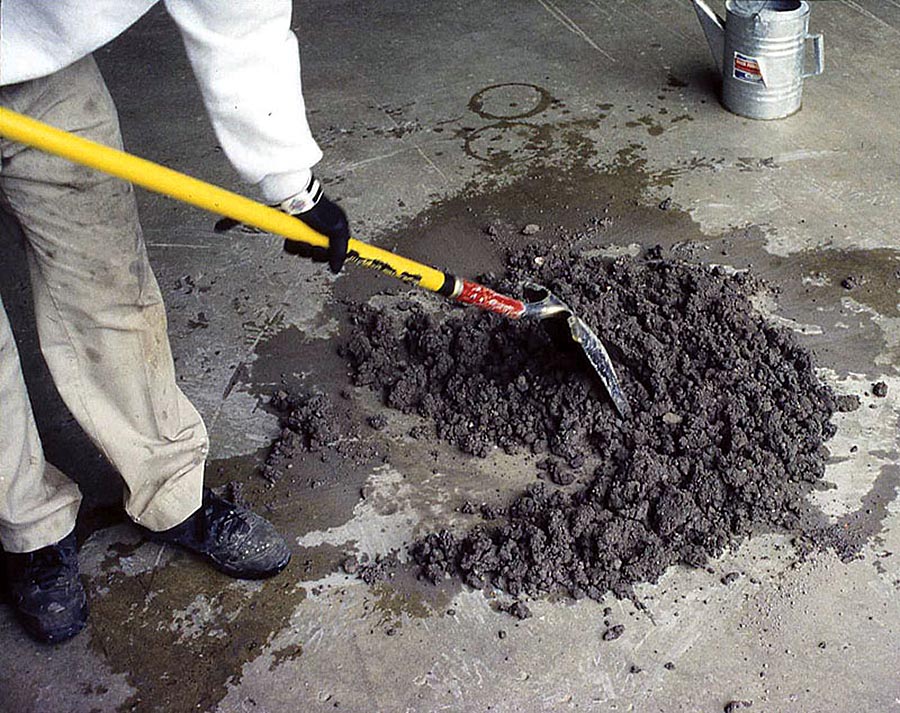
To add moisture back into clay you’ll want to spread the dry clay out on a concrete or asphalt surface. Then, follow these steps:
- add water liberally using a hand-pump sprayer, watering can, or hose
- using a flat square-end shovel, turn the clay to thoroughly mix the water in
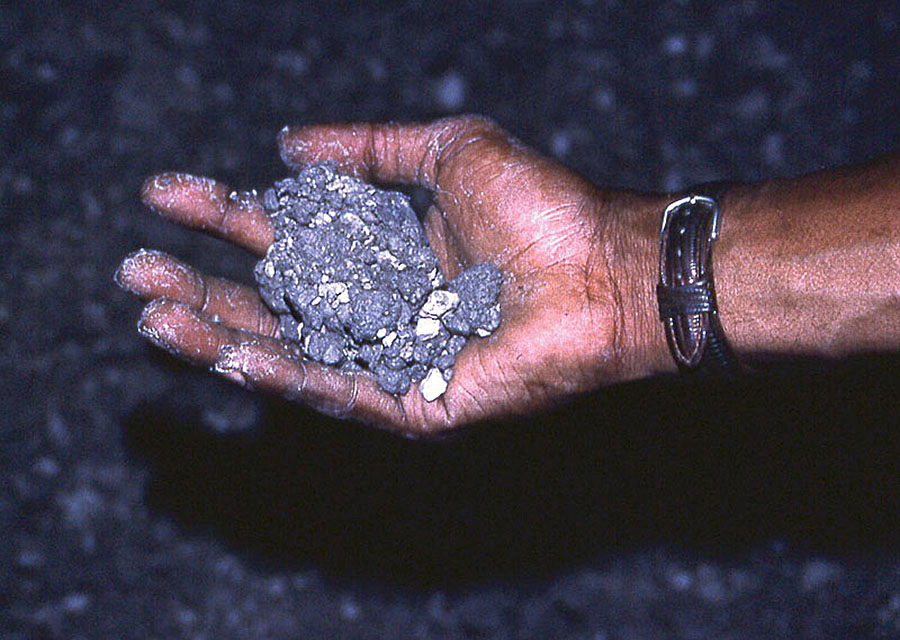
- test the moisture level by trying to form a ball with the clay, but make sure it is not sticking to your shovel
- to ensure the moisture will not evaporate, place moistened clay in a wheel barrow or 5-gallon bucket and cover until it’s ready for use
Rehydrating dried clay...
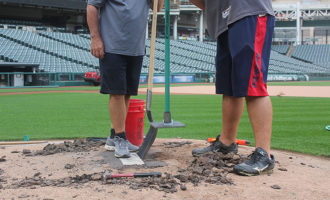
Adding and seating new clay...
To repair the heavy wear holes you’ll fill them with pre-moistened clay. For adding and seating the new clay, follow these steps:
- add fresh clay from a bag of pre-moistened clay
- spread the pile of clay around a bit with your iron rake, leaving the new clay a little higher than grade because the clay will compact down quite a bit
- using the back (heel) of a flat square-end shovel, slap the clay with a downward and slightly forward motion to set the clay
- if the clay compacts more than you expect and is not up to the surface of the rest of the mound, add more fresh clay and repeat these steps.
Clay should not stick to the bottom of the shovel when using the downward, slightly forward motion described above. Be sure to tilt the shovel upward a bit so the heel of the shovel is primarily making contact. This will help you avoid digging up the clay unintentionally with the blade of the shovel.
Adding and seating new clay...
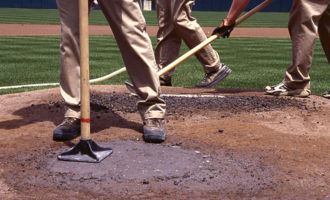
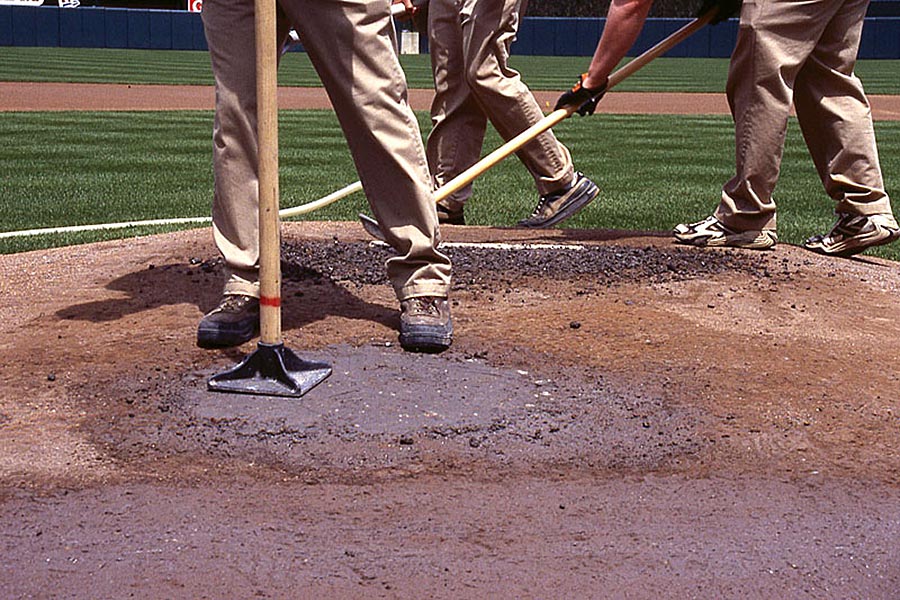
Tamping the clay repair spots...
To firmly lock the clay into position, you’ll need to use a tamp to compact the clay and restore an even surface grade in these areas of repair.
There are different size tamps, but as a general rule a smaller 6-inch or 8-inch tamp works best. The smaller the tamp, the more concentrated your down pressure will be on the clay. A larger 10-inch tamp will be more cumbersome to handle and more difficult to strike consistently and squarely on the clay. We highly recommend the revolutionary Beacon Sweet Spot Tamp to save your hands and back, and also give you interchangeable heads.
Start by tamping along the outside edges of the new clay to lock the edges in place. Work your way inward to the center of the repair area. If clay is sticking, just rub a handful of old soil on the tamp to prevent sticking. You can add a light dusting to the clay itself, if necessary, to prevent further sticking. Continue to tamp until the new clay is firm and even.
Watch the demonstration videos on the next two slides for more on tamping…
About the different size tamps...
Tamping new clay...
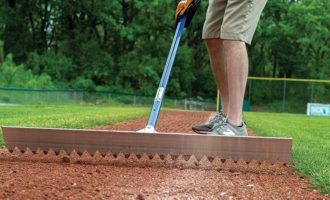
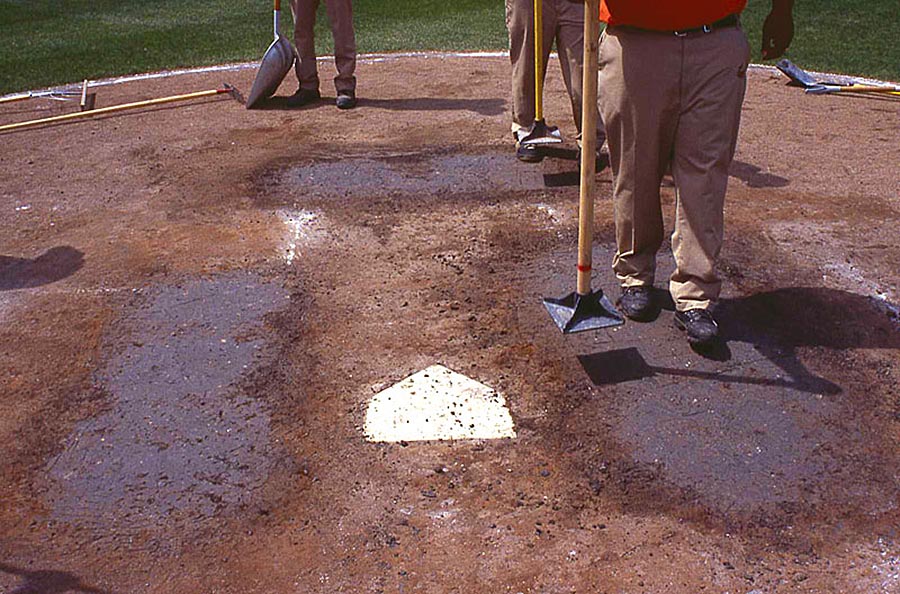
Shaving the repair spots down to grade...
With the new clay tamped firmly into place you’ll need to cut down any high spots so the newly repaired clay will match the existing grade.
Using the existing surface area as your guide, shave off the high spots with a sharpened iron rake. You’ll want to move around the spots in a circular fashion as you cut them down, to give you a nice cross-cut smooth surface. If you notice any low spots still there, add more clay, tamp those areas, and again cut down any high spots.
When all repaired areas match the existing grade, push the scrapped off material away and retamp one more time. Your patch work is now complete.
Shaving down the high spots...
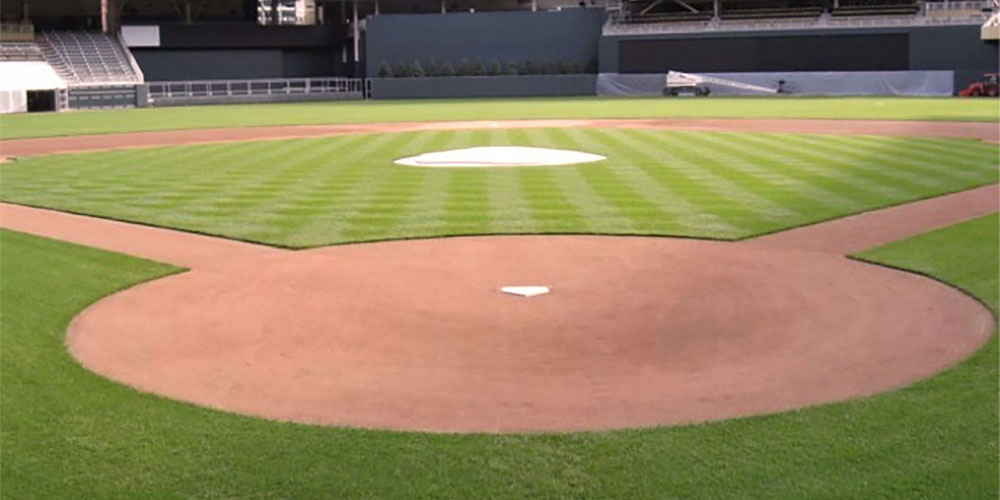
So, that’s how you repair heavy wear clay areas on the pitching mound and around the batter’s box. Next, we’ll go into hydrating the area and finish grooming to complete the repair process.
But first, try a quick Pop Quiz to make sure you ready to move on. If you do not see the quiz button below, please log in at GU to take the quiz.


